


Thanks to AuraScan's mobile UI/UX enhancements, staking directly from your smartphone is now simpler and more convenient than ever before. However, before staking, it is essential to establish an Aura Network wallet and convert any AURA tokens from the BEP20 network to the Aura Network wallet.
If you have not yet created an Aura Network wallet or converted AURA token, please check out our comprehensive instructions HERE.
After completing the above steps, you are ready to start staking on AuraScan.
Select your validators

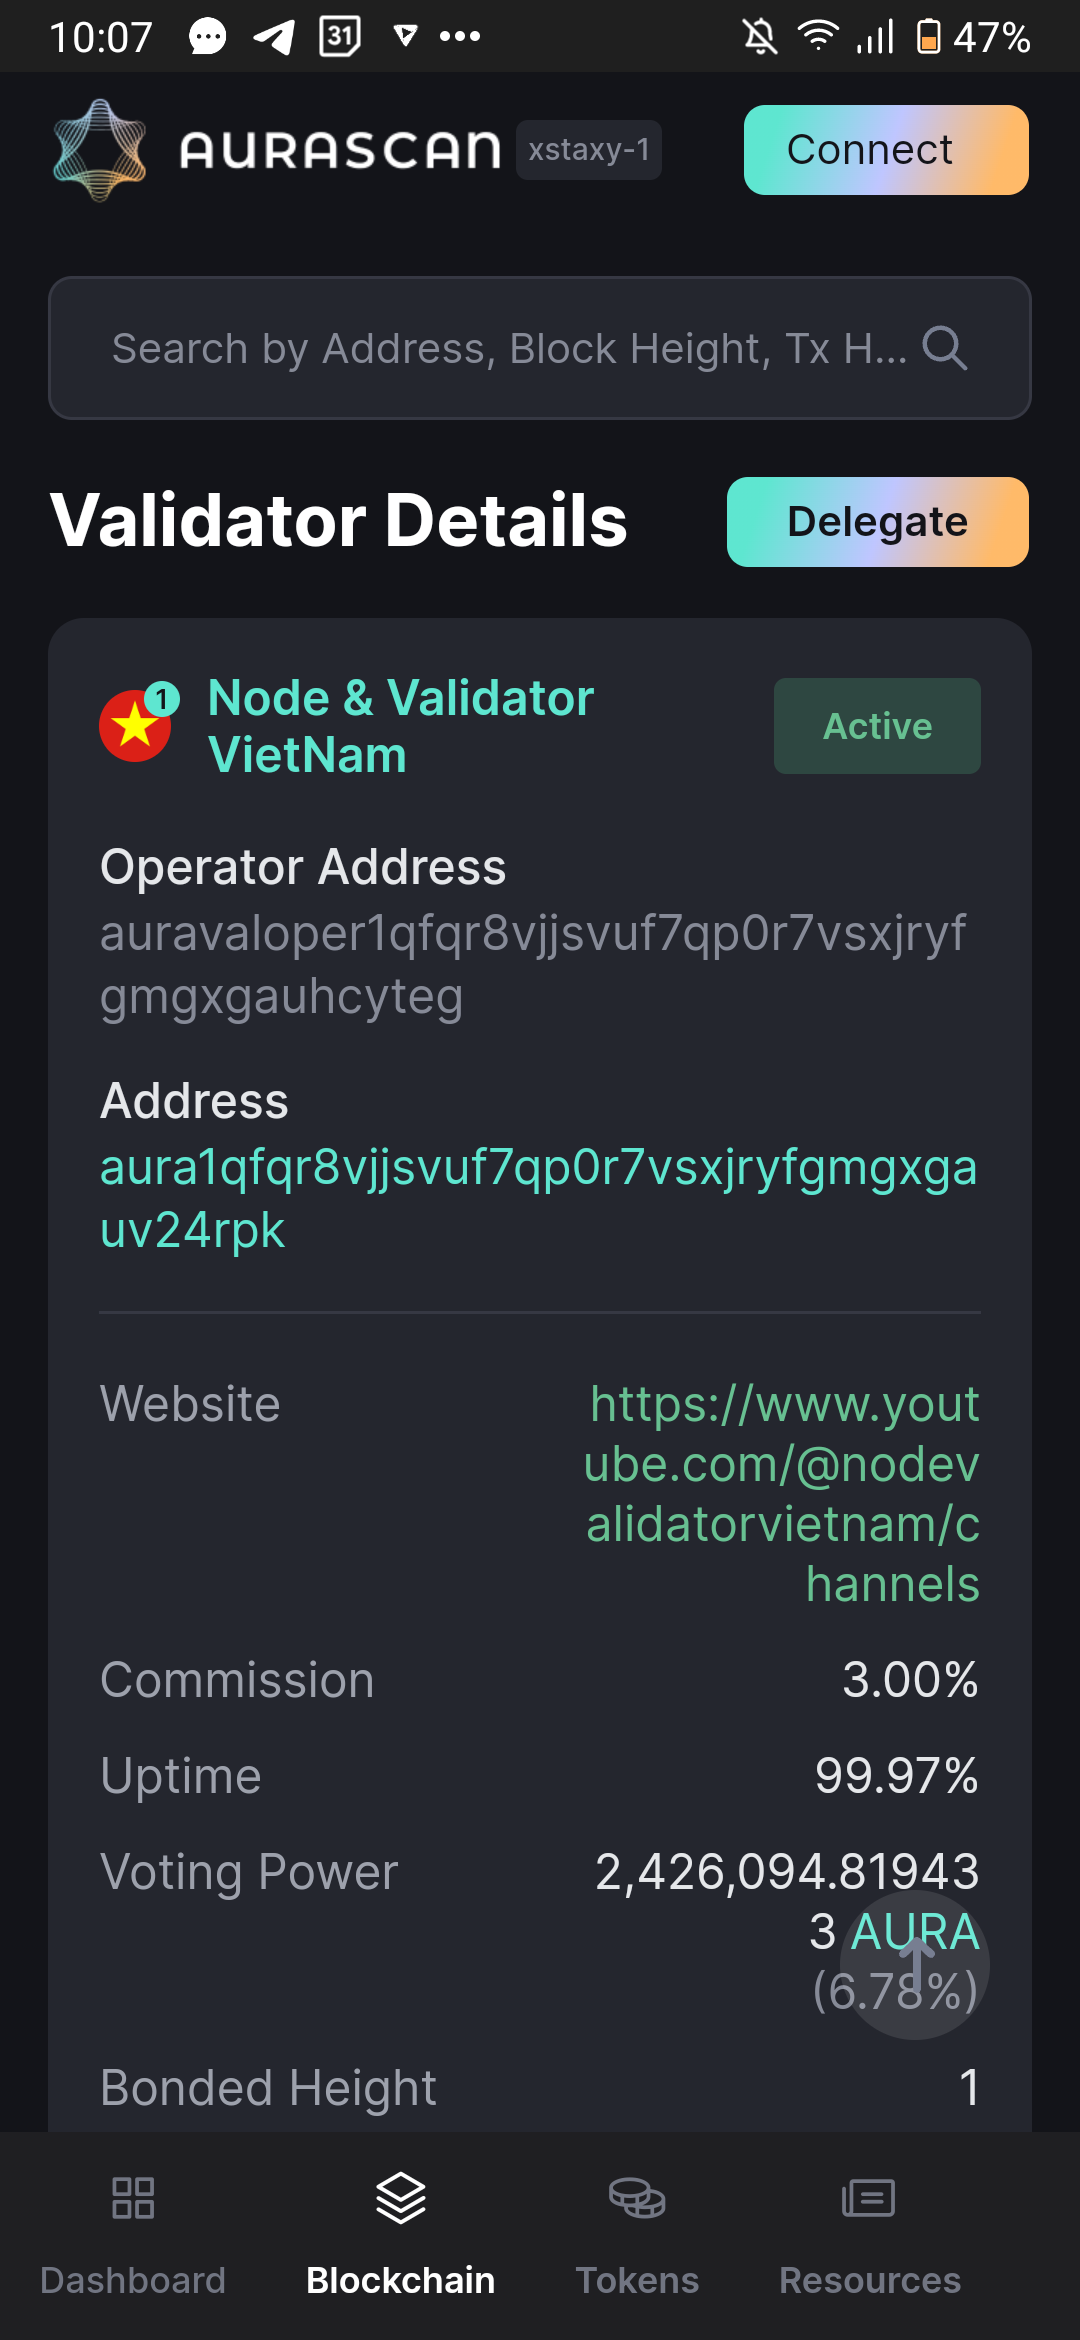
Choosing your validators is a crucial aspect of the staking process. For this reason, AuraScan's staking interface shall provide essential information regarding each validator, including their name, description, initial commission rate, and more. This will enable users to make informed decisions and select the most suitable validator for their needs.
Delegate to a validator

Once you have selected a validator you trust, delegate your AURA through delegation transactions. Click on Delegate, connect your wallet to AuraScan and delegate.
Staked Aura holders can get their rewards by sending a claim reward transaction, then the rewards will be sent to the Aura holder's wallet automatically.
To preserve the security and decentralization of the network, it is advisable to delegate AURA to several validators rather than a select few or just one.
Undelegate a validator
As staking will lock your funds, you will need to undelegate in order for your staked assets to be liquid again. During the unbonding period, you will:
- not further receive staking rewards
- not be able to cancel the unbonding
- need to wait until the end of unbonding period for the amount to be liquid
To undelegate, go to staking management, select Undelegate and enter the amount of AURA you want.
Redelegate to another validator
After you have staked your assets to a validator successfully, you may desire to switch to another validator and redelegate your stake for instant staking. To accomplish this, it is essential to follow the instructions provided below:
Step 1: Choose another trusted validator you want.
Step 2: Go to staking management, choose “Redelegate”. Enter the amount of assets you want to redelegate. You can redelegate all your staked assets or your desired amount.
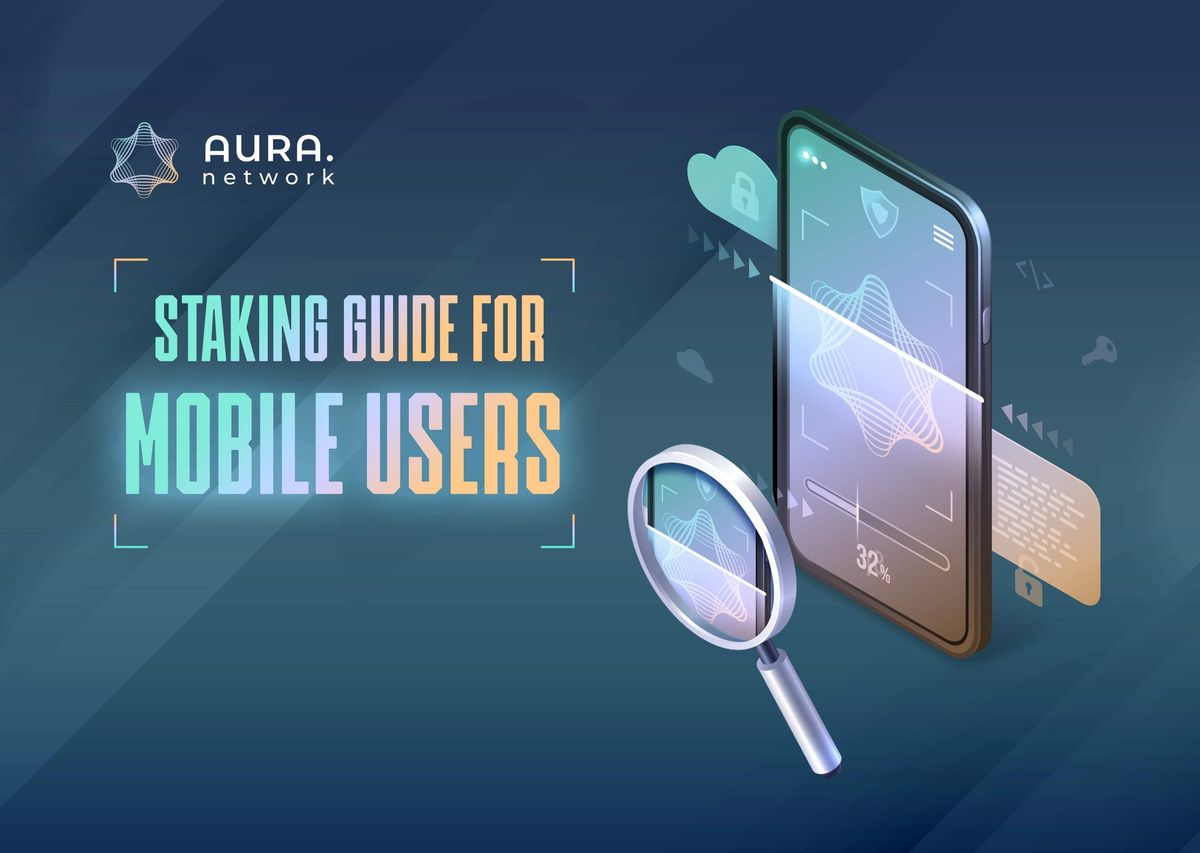
Start staking with ease from your phone in just a few simple steps. Don't wait any longer, take advantage of this opportunity to stake now!
Hướng dẫn staking trên AuraScan cho người dùng điện thoại
Giờ đây, người dùng có thể thực hiện staking một cách tiện lợi trên điện thoại của mình. Xem hướng dẫn chi tiết dưới đây.
Với sự cải tiến về UI/UX trên điện thoại của AuraScan, việc staking ngay trên chiếc smartphone quen thuộc của bạn không còn gì quá khó khăn. Tuy vậy, trước khi tiến hành staking, bạn cần tạo lập ví Aura Network, cũng như chuyển đổi số token AURA bạn có trên mạng BEP20 về ví Aura Network.
Nếu bạn chưa có ví Aura Network hoặc chưa chuyển đổi token AURA, xem hướng dẫn chi tiết của chúng tôi TẠI ĐÂY.
Sau khi hoàn thành những bước trên, bạn đã có thể sẵn sàng để tiến hành stake trên AuraScan.
Lựa chọn validator
Việc lựa chọn validator là điều tương đối quan trọng trong quá trình thực hiện staking. Do đó trên giao diện staking của AuraScan, chúng tôi sẽ cung cấp các thông tin cần thiết về từng validator như tên, mô tả, tỷ lệ commission ban đầu… để người dùng có thể xem xét và lựa chọn kỹ lưỡng trước khi quyết định chọn validator.
Delegate validator
Khi đã chọn ra validator mà bạn tin tưởng, hãy tiến hành ủy quyền (delegate) AURA cho validator đó.

Những người đang stake Aura có thể nhận thưởng bằng cách gửi một giao dịch để nhận thưởng, sau đó phần thưởng sẽ tự động được gửi về ví.
Để duy trì tính bảo mật và phi tập trung của mạng, chúng tôi khuyên người dùng nên ủy quyền AURA cho nhiều validator khác nhau.
Dừng delegate validator (Undelegate)
Vì staking sẽ tạm thời đóng băng tài sản của bạn, do đó bạn cần phải undelegate để tài sản đã stake của bạn có tính thanh khoản trở lại. Khi bước vào giai đoạn unbonding, bạn sẽ:
- không nhận được thêm phần thưởng staking
- không thể dừng quá trình unbonding
- cần phải chờ đến khi giai đoạn unbonding kết thúc để tài sản có tính thanh khoản trở lại
Để tiến hành undelegate, vào phần quản lý staking, chọn Undelegate và nhập khoản AURA bạn muốn.
Delegate sang validator khác (Redelegate)
Sau khi bạn đã thực hiện lệnh stake thành công cho một validator, bạn có thể sẽ muốn đổi sang ủy quyền cho một validator khác để tiếp tục stake. Để thực hiện điều đó, bạn cần làm theo các bước sau:
Bước 1: Lựa chọn validator khác mà bạn tin tưởng
Bước 2: Vào phần quản lý tài sản staking, chọn Redelegate. Nhập lượng tài sản bạn muốn redelegate. Bạn có thể redelegate tất cả tài sản đã stake hoặc chỉ một phần mà bạn mong muốn.
Chỉ với những thao tác đơn giản, bạn đã có thể thực hiện các hoạt động liên quan đến staking thông qua chiếc điện thoại của mình. Còn chần chờ gì nữa, hãy bắt đầu staking ngay bây giờ!


