


Guide to create Aura Network wallet on computer
◉ Create Aura Network wallet on Coin98 extension
To create an Aura Network wallet, users must install Coin98 extension on the web browser. Follow the instructions below to get into the steps required to complete the wallet creation process.
- For users who do not have a Coin98 wallet yet, install Coin98 extension on the Chrome web store, and follow this guide to create a Multi-chain Wallet on Coin98 Extension
Once you own a Multi-chain wallet, you can activate the Aura Xstaxy Mainnet network and use that wallet address for AURA conversion and future transactions.

Alternatively, you can create an extra Aura Network wallet for storing AURA tokens and staking, which adds to your convenience. To create an Aura Network wallet, follow these instructions:
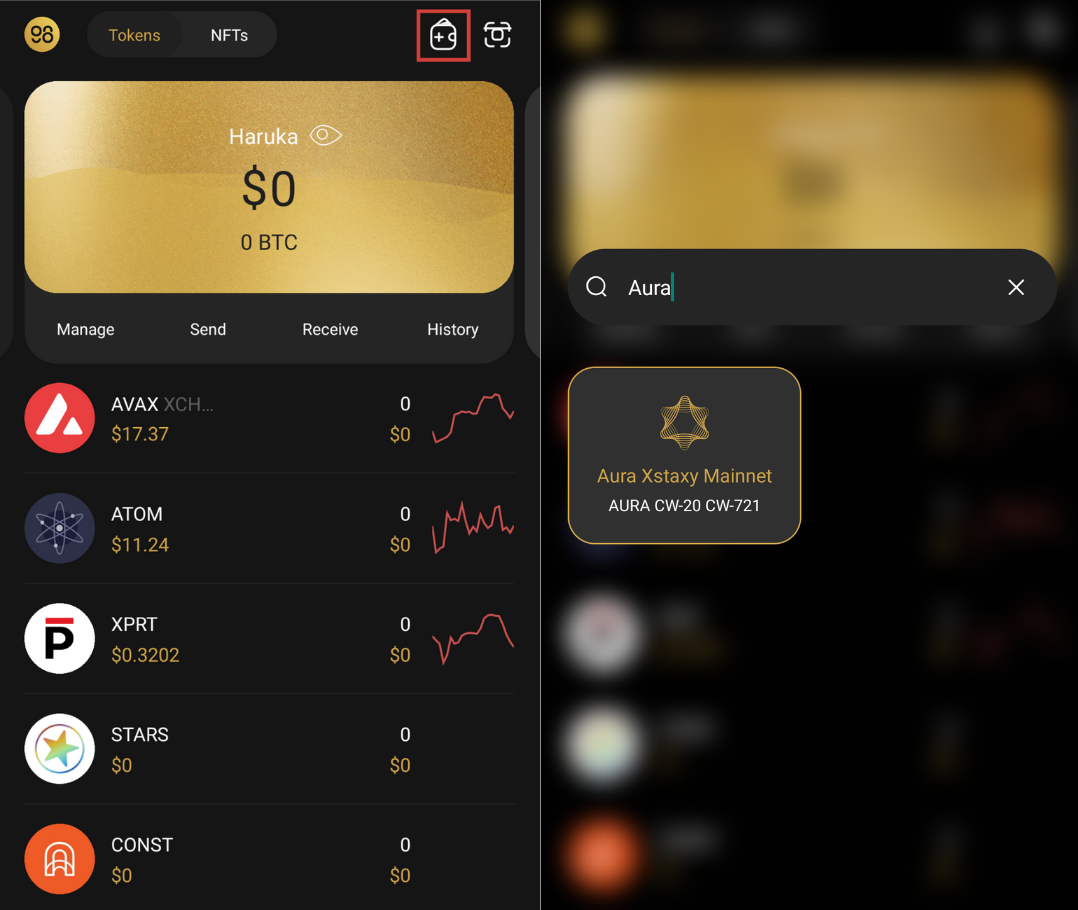
+ Step 1: Open the Coin98 extension, click on the wallet icon in the upper left corner. Then, click the add wallet icon in the upper right corner.
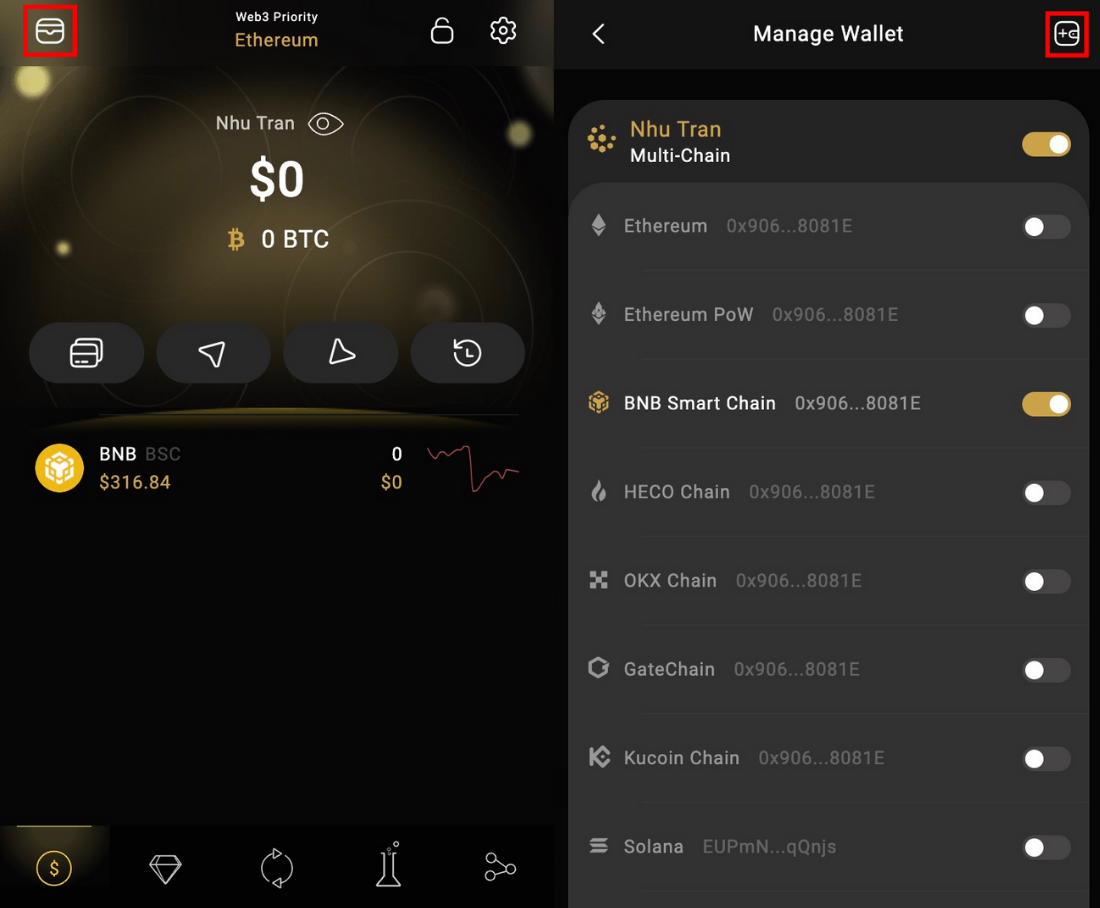
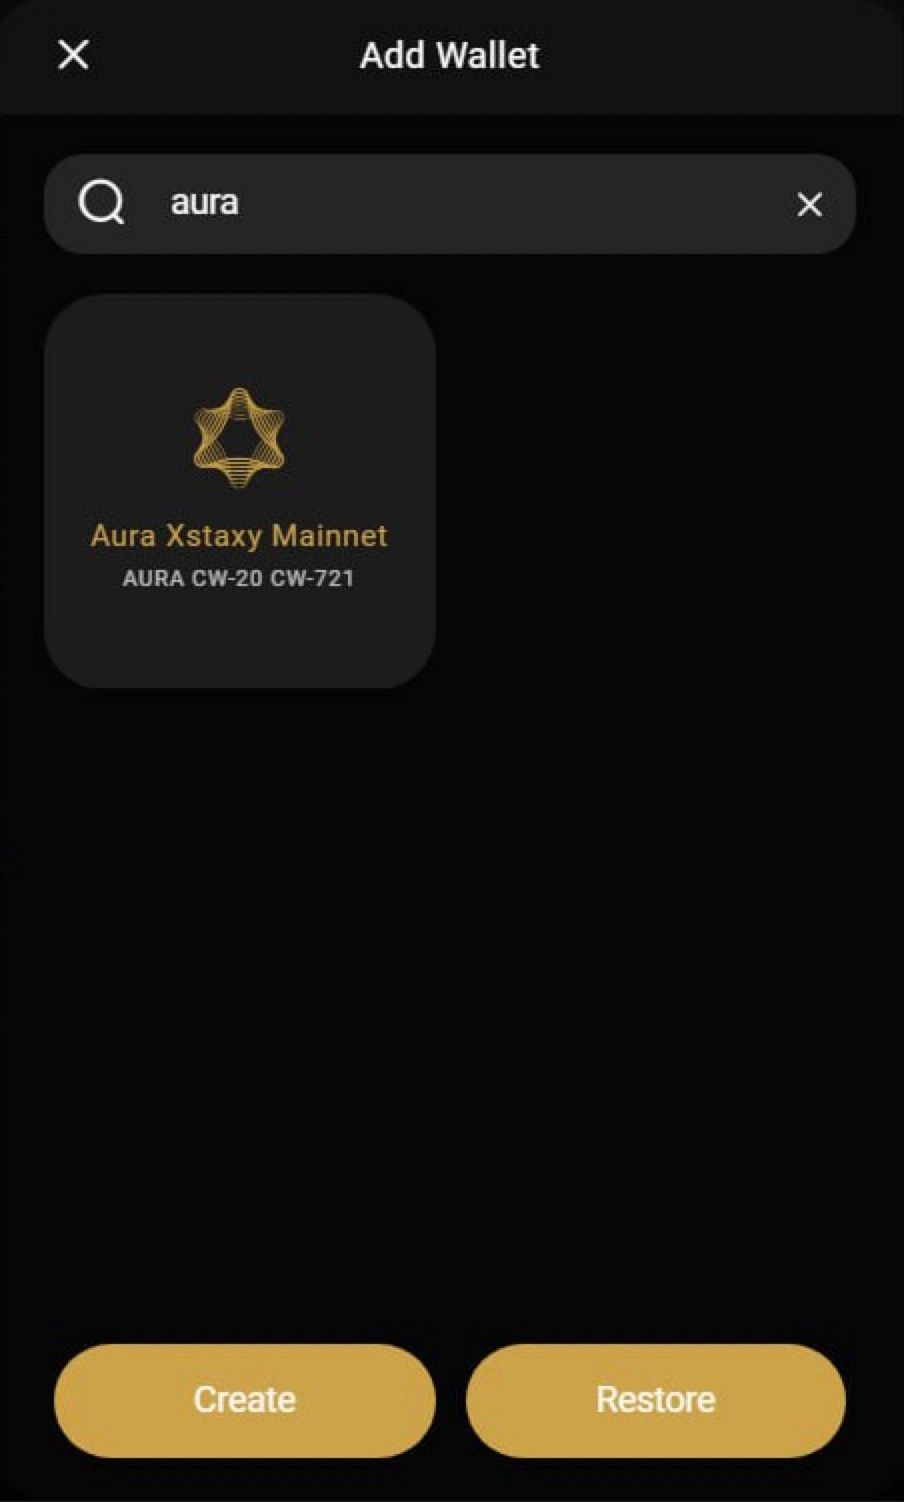
+ Step 2: In the add wallet interface, enter “Aura” in the search bar and select “Aura Xstaxy Mainnet”.

+ Step 3: Continue to create wallet similar to the steps to create a Multi-chain wallet
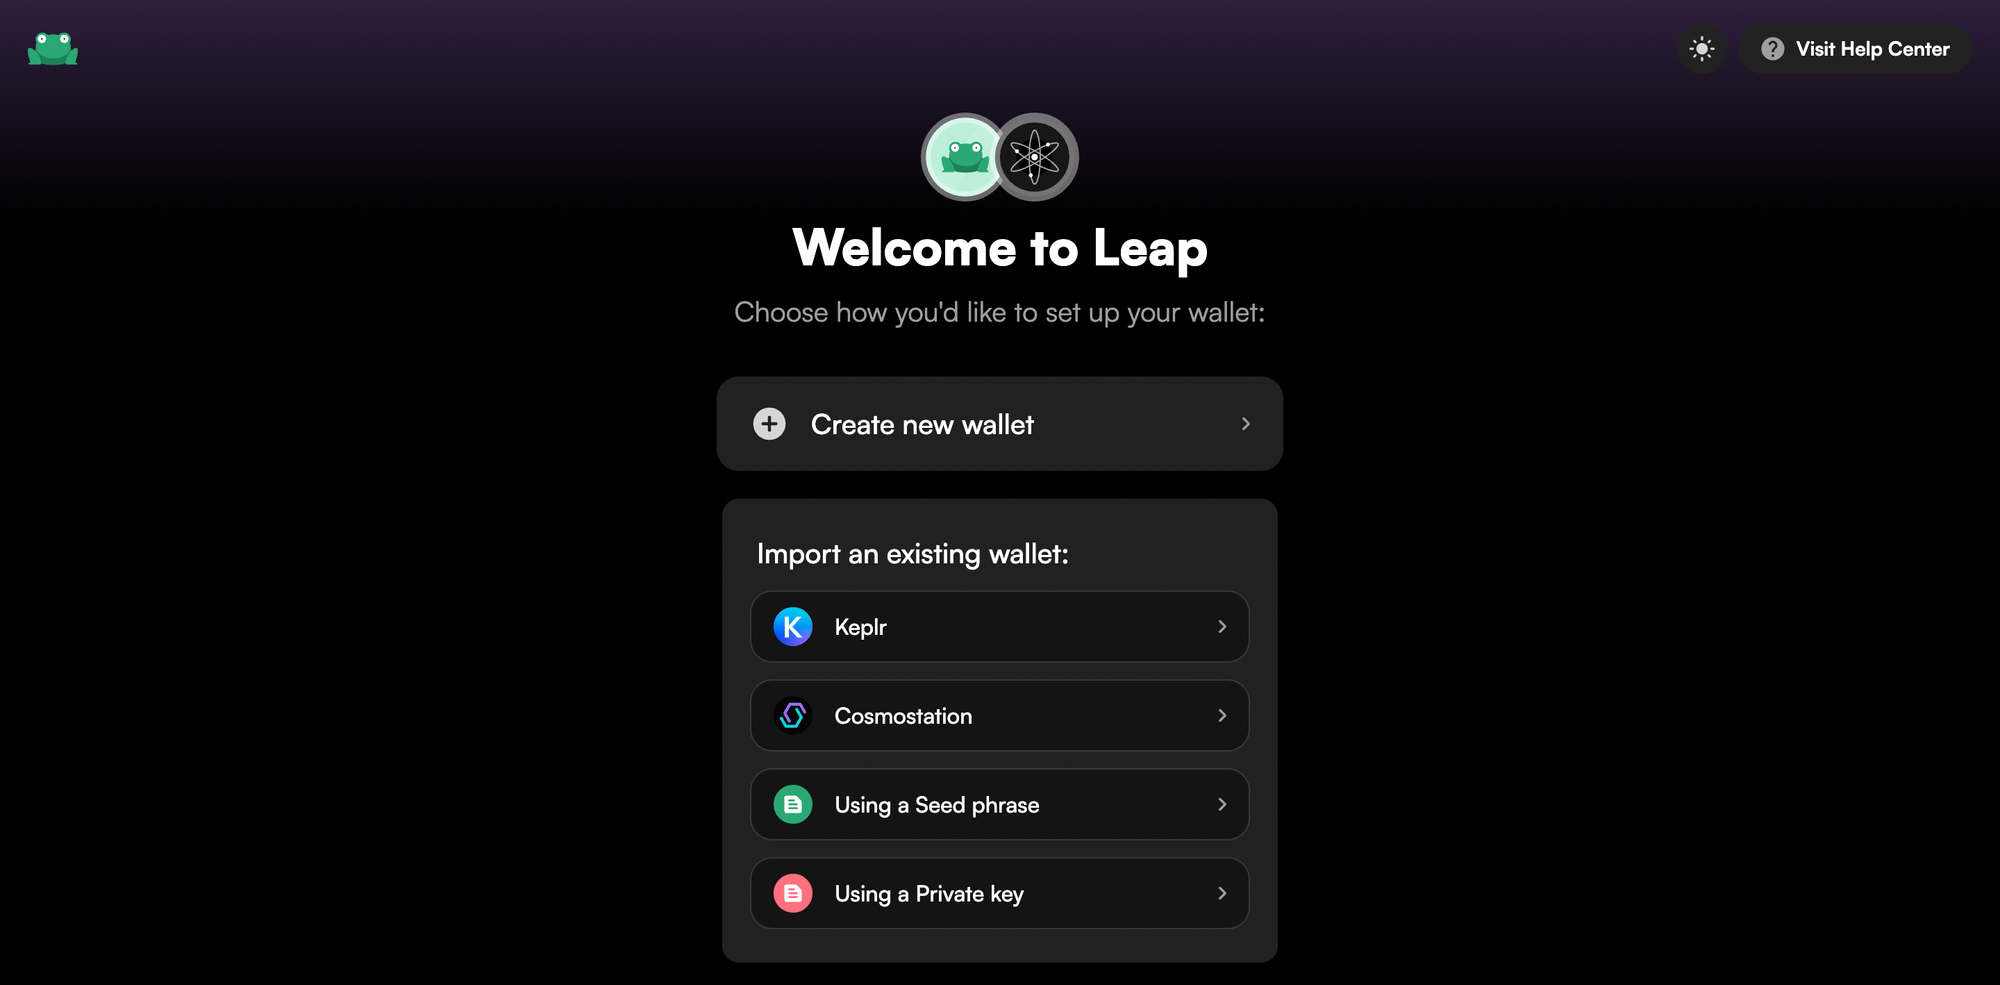
Create Aura Network wallet on Leap
Using Leap Browser extension
To get started, download the Leap Cosmos Wallet for the browser, then you are able to create an account with Leap by these steps below:
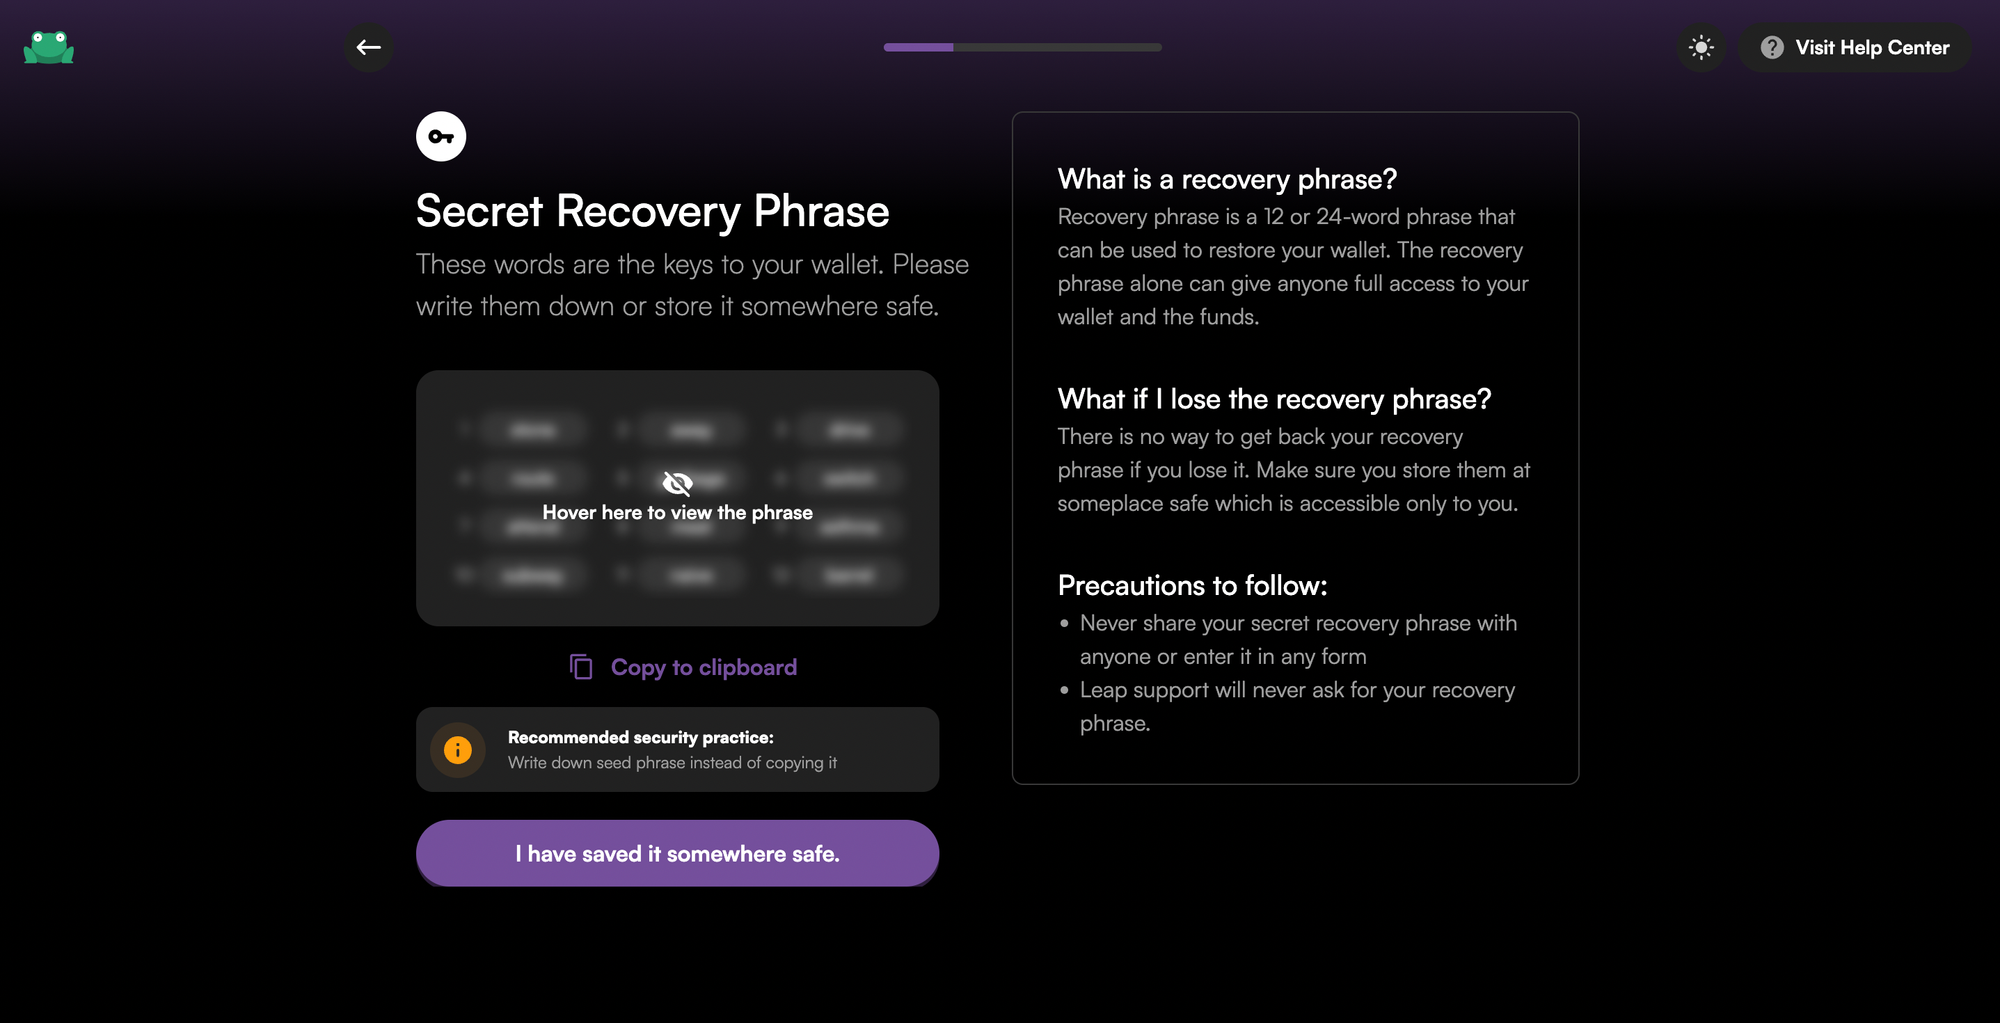
- Step 1: Selecting Create a new wallet if you don't already have one. ****A secret recovery phrase is generated specifically for your account; make sure to keep it secure and offline.

- Step 2: Fill out your secret phase with the missing words and choose a password for your account.

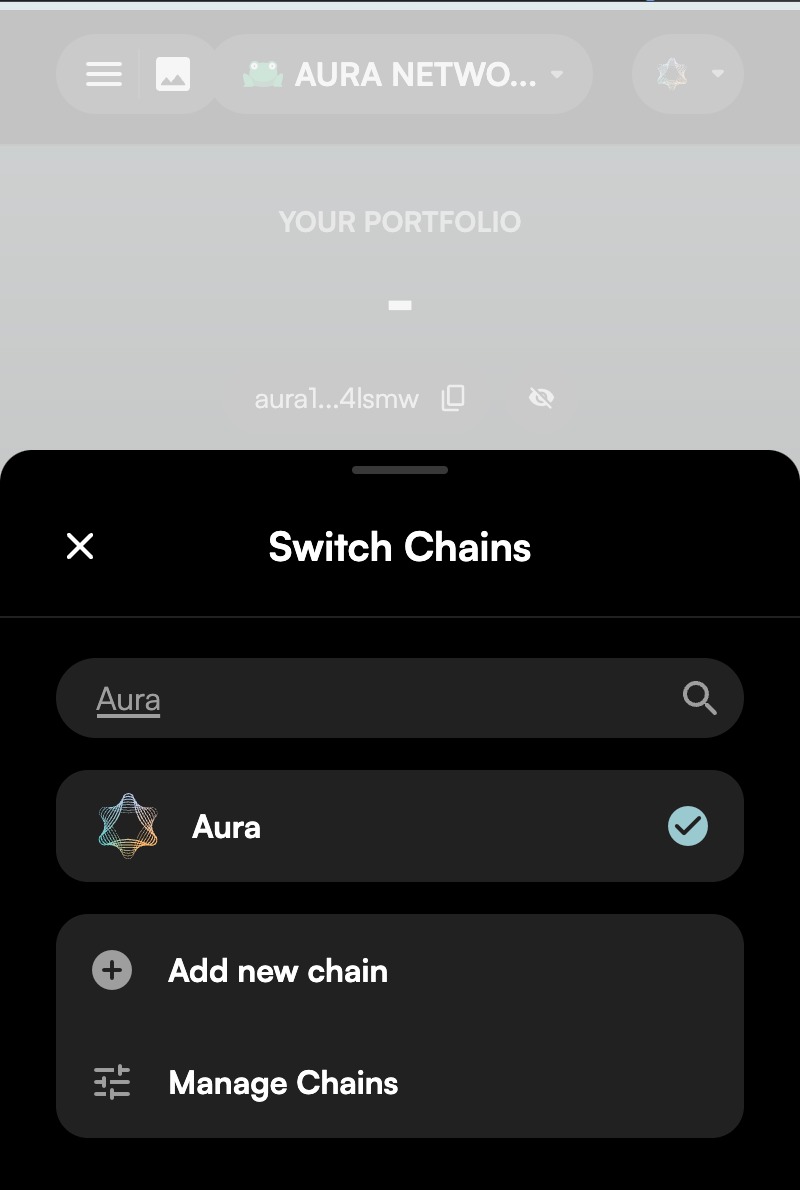
- Step 3: Click on the Networks icon located at the bottom right of the screen and search for Aura to switch to the Aura Chain.

That's it! You now have an Aura address to interact with the Aura chain.
Using Leap Mobile Wallet
Aura is accessible through the Leap Wallet mobile app to ensure Aura holders can take advantage of its features on the go. To download Leap Wallet on your phone, simply search for Leap Cosmos on the App Store and Google Play. The wallet installation is similar to the Leap Browser Extension guide above.
If you need any support, contact Leap team here.
Buy $AURA on HaloTrade
Once your Aura Wallet is set up, you should get $AURA on HaloTrade to access all features and services within the Aura ecosystem.
Guide to create Aura Network wallet on smartphone
◉ Create Aura Network wallet on Coin98 Super App
Smartphone users can use Coin98 Super App as an efficient tool to aid in the utilization of the Aura Network wallet. If you haven’t installed Coin98 Super App yet, download it on Google Play or AppStore. Then, follow the steps below:
+ Step 1: Open Coin98 Super App, choose the Add wallet symbol on the top-right corner. Enter “Aura'' in the search bar and choose Aura Xstaxy Mainnet.
+ Step 2: Create an Aura Network wallet with all the necessary information.
Hướng dẫn tạo lập ví Aura Network
Ví Aura Network là công cụ cần thiết để bạn chuyển đổi AURA và thực hiện các hoạt động khác như staking. Hướng dẫn dưới đây sẽ hỗ trợ bạn lập ví Aura Network thuận tiện và nhanh chóng.
Hướng dẫn tạo ví Aura Network trên máy tính
◉ Tạo ví Aura Network trên extension Coin98
Người dùng máy tính sẽ cần extension Coin98 để tạo lập ví Aura Network. Hướng dẫn dưới đây sẽ giúp bạn nắm rõ các thao tác để thực hiện công đoạn tạo ví.
- Đối với người dùng chưa có ví Coin98, hãy cài đặt Coin98 extension trên Cửa hàng tiện ích của Google Chrome, sau đó xem hướng dẫn tại đây để tạo ví Multi-chain Wallet
Khi đã sở hữu ví Multi-chain, bạn có thể active network Aura Xstaxy Mainnet và sử dụng địa chỉ ví đó cho việc chuyển đổi AURA cũng như các giao dịch sau này.

Mặt khác, bạn cũng có thể tạo thêm ví Aura Network để thuận tiện cho việc lưu trữ AURA token và Staking. Để tạo ví Aura Network, hãy làm theo các bước sau:
+ Bước 1: Mở extension Coin98, chọn biểu tượng Quản lý ví trên góc trái màn hình. Sau đó, chọn biểu tượng Thêm ví trên góc phải màn hình.

+ Bước 2: Ở giao diện thêm ví, nhập “Aura” vào thanh tìm kiếm và chọn “Aura Xstaxy Mainnet”. Chọn “Create”.
+ Bước 3: Tiến hành tạo ví tương tự như các bước tạo ví Multi-chain
Tạo ví Aura Network với Leap
Đối cài đặt trên máy tính, đầu tiên bạn cần tải Leap Cosmos Wallet từ Cửa hàng tiện ích của Google Chrome. Sau đó, bạn có thể bắt đầu tạo ví Leap thông qua các bước đơn giản dưới đây:
- Bước 1: Chọn Create a new wallet nếu như bạn chưa có ví Leap. Một dãy “kí tự bảo mật” sẽ được cấp riêng cho ví của bạn, cần lưu trữ “ký tự bảo mật" ở nơi an toàn.
- Bước 2: Điền các kí tự bảo mật đã được cung cấp trước đó vào những ô trống trên màn hình và tạo mật khẩu cho account của bạn.
- Bước 3: Chọn biểu tượng Network trên cùng bên phải của màn hình, tìm kiếm từ khoá “Aura” để chuyển sang mạng Aura.
Thế là hoàn tất quá trình tạo ví Aura trên Leap Wallet! Giờ bạn có thể sử dụng địa chỉ ví này để tương tác trên mạng lưới Aura Network.
Ngoài ra, bạn cũng có thể truy cập ví Aura trên điện thoại thông qua ứng Mobile Leap Wallet. Để tải Leap Wallet về điện thoại, chỉ cần tìm kiếm Leap Cosmos trên App Store hoặc Google Play. Việc cài đặt ví tương tự như hướng dẫn Leap Browser Extension ở trên.
Nếu cần bất cứ hỗ trợ gì về việc tạo ví và cách sử dụng ví, liên hệ với Leap team tại đây.
Mua $AURA trên HaloTrade
Sau khi đã có ví Aura, bạn cần mua $AURA trên HaloTrade để có thể truy cập tất cả các tính năng trong hệ sinh thái Aura Network.
Once you own the Aura Network wallet, you can start to create transactions or staking. Read Staking guide on AuraScan or Staking guide on AuraScan for mobile users for more details about how to stake on AuraScan.
Sau khi đã sở hữu ví Aura Network, bạn có thể thực hiện các giao dịch và staking. Bạn có thể đọc thêm bài Hướng dẫn Staking trên AuraScan hoặc Hướng dẫn Staking trên AuraScan cho người dùng điện thoại để biết thêm thông tin chi tiết.


